PILATES: IS IT WORTH IT?

albion-28web.jpg

A month ago, I decided I was tired of wishing my body would be stronger and fitter, so I did something about it. I started going to Core Body Pilates three times a week after meeting the owner, Melissa. She told me it takes only 10 sessions to feel differently and 20-30 sessions to see results. I thought, "Well, that doesn't seem too bad at all. Summer is coming, so I'll try it!" I declared it on social media to help me hold myself accountable, and I dove in head first.

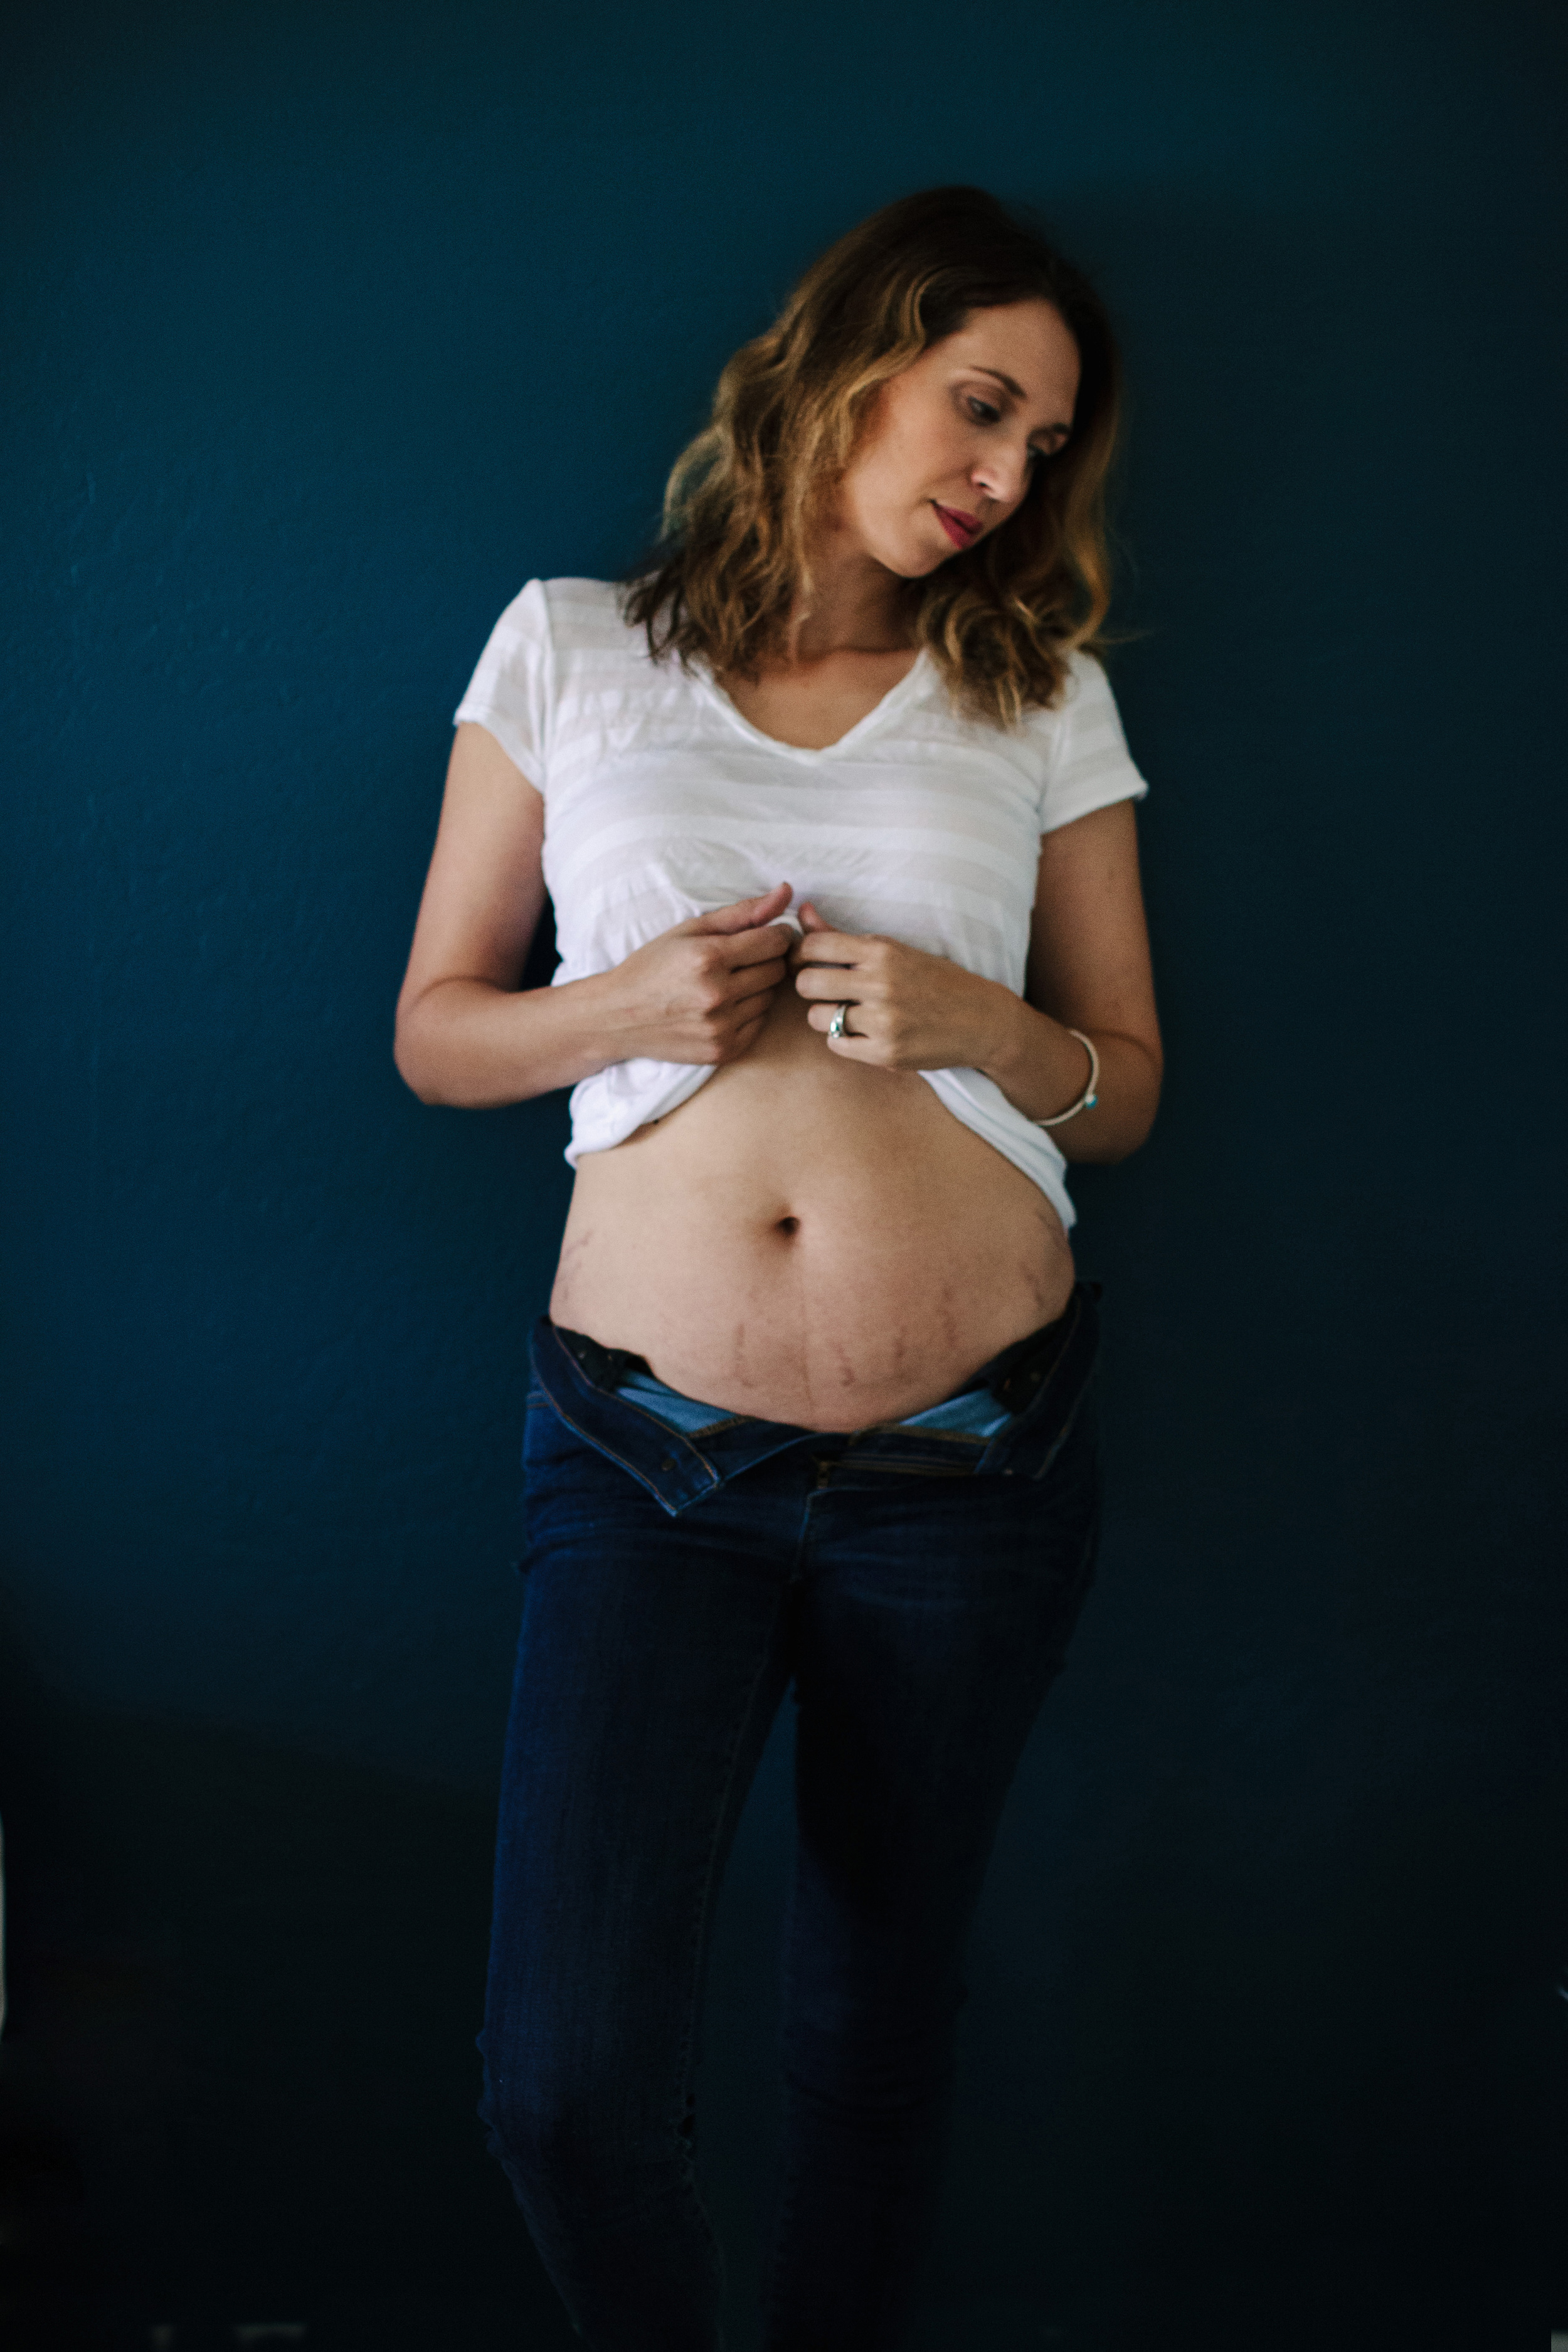
I hadn't worked out in about two years when I walked into that studio. I wasn't overweight, but I was definitely skinny fat. I appeared thin, but I didn't have much muscle tone or strength or flexibility despite climbing the stairs multiple times a day with a 30 pound kiddo. It sure was an intimidating sight at 5am to see an intimate classroom of up to 8 people and 8 pilates reformers (pilates machines). At first glance, they look like a torture devices with all of the straps, springs and cables. I definitely was out of my comfort zone.

But, I was quickly greeted with smiles and encouragement from the instructor. They knew it was my first time (the benefit of a small studio) and the instructor walked me through the moves the whole way through. In fact, they still do that for every class. I've been to classes at gyms where there's 30 women crammed into a room and you're fighting for the last yoga mat. So, this was refreshing compared to that. 

The first week was the roughest. I wasn't used to waking up at 4:15am, and it was obvious how weak I was. Not to mention, there was a lot of new vocabulary I wasn't familiar with. Pilates classes are one hour long and give you a full body workout focusing on strength building, flexibility, balance and cardio. But what you don't expect is that the first month is a bit of a mental workout too because you are concentrating on getting the moves down, interpreting new words and, of course, simply trying to keep your stamina up. 

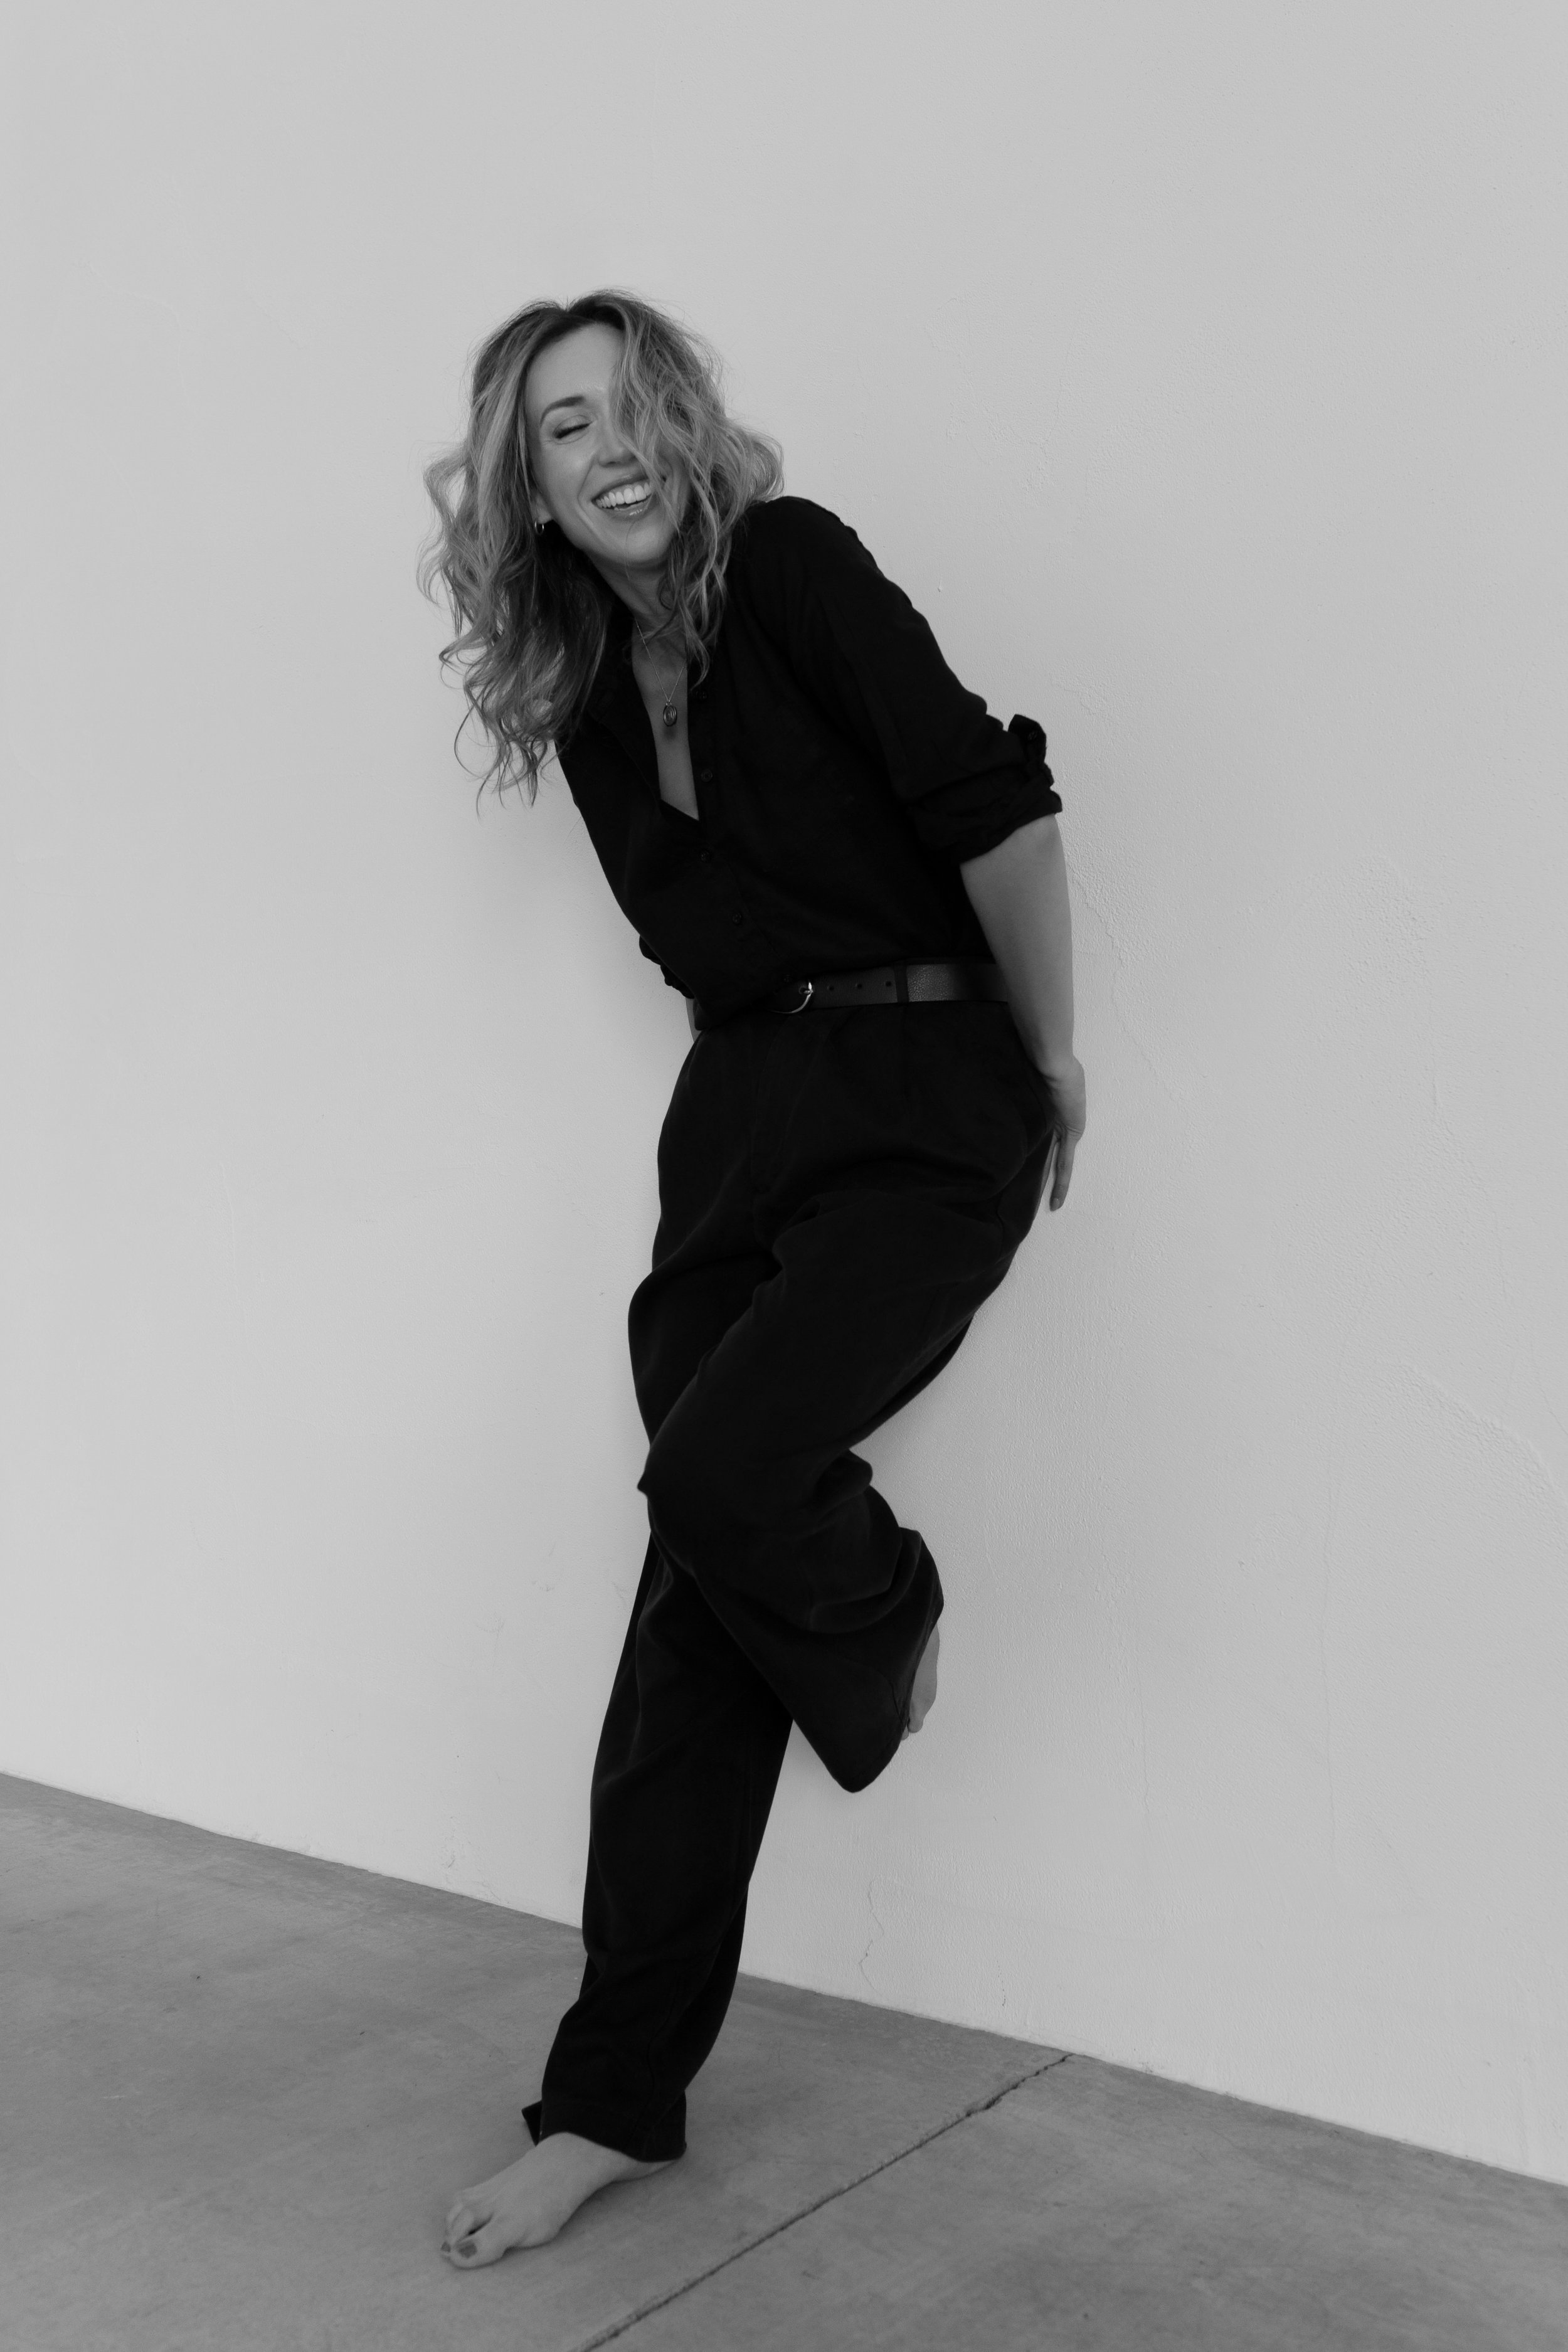
But it's sooooo worth it. I've already lost five pounds, I can see that my back looks stronger, my arms aren't as jiggly and my love-handles are disappearing. My pants are fitting better and my family and friends are starting to notice a change too. Most importantly, I just feel much better and stronger. I look forward to going to pilates whereas before I dreaded the thought of working out. I can't wait to see what the next month brings for me.

I wrote out a helpful little list of advice from the perspective of being a newbee. You might appreciate these tips if you're planning on giving pilates a try for yourself:
1. Leave your gym shoes at home. You are either barefoot or wear toe socks.
2. Bring a water bottle. (My mouth gets dry from all of the deep breathing).
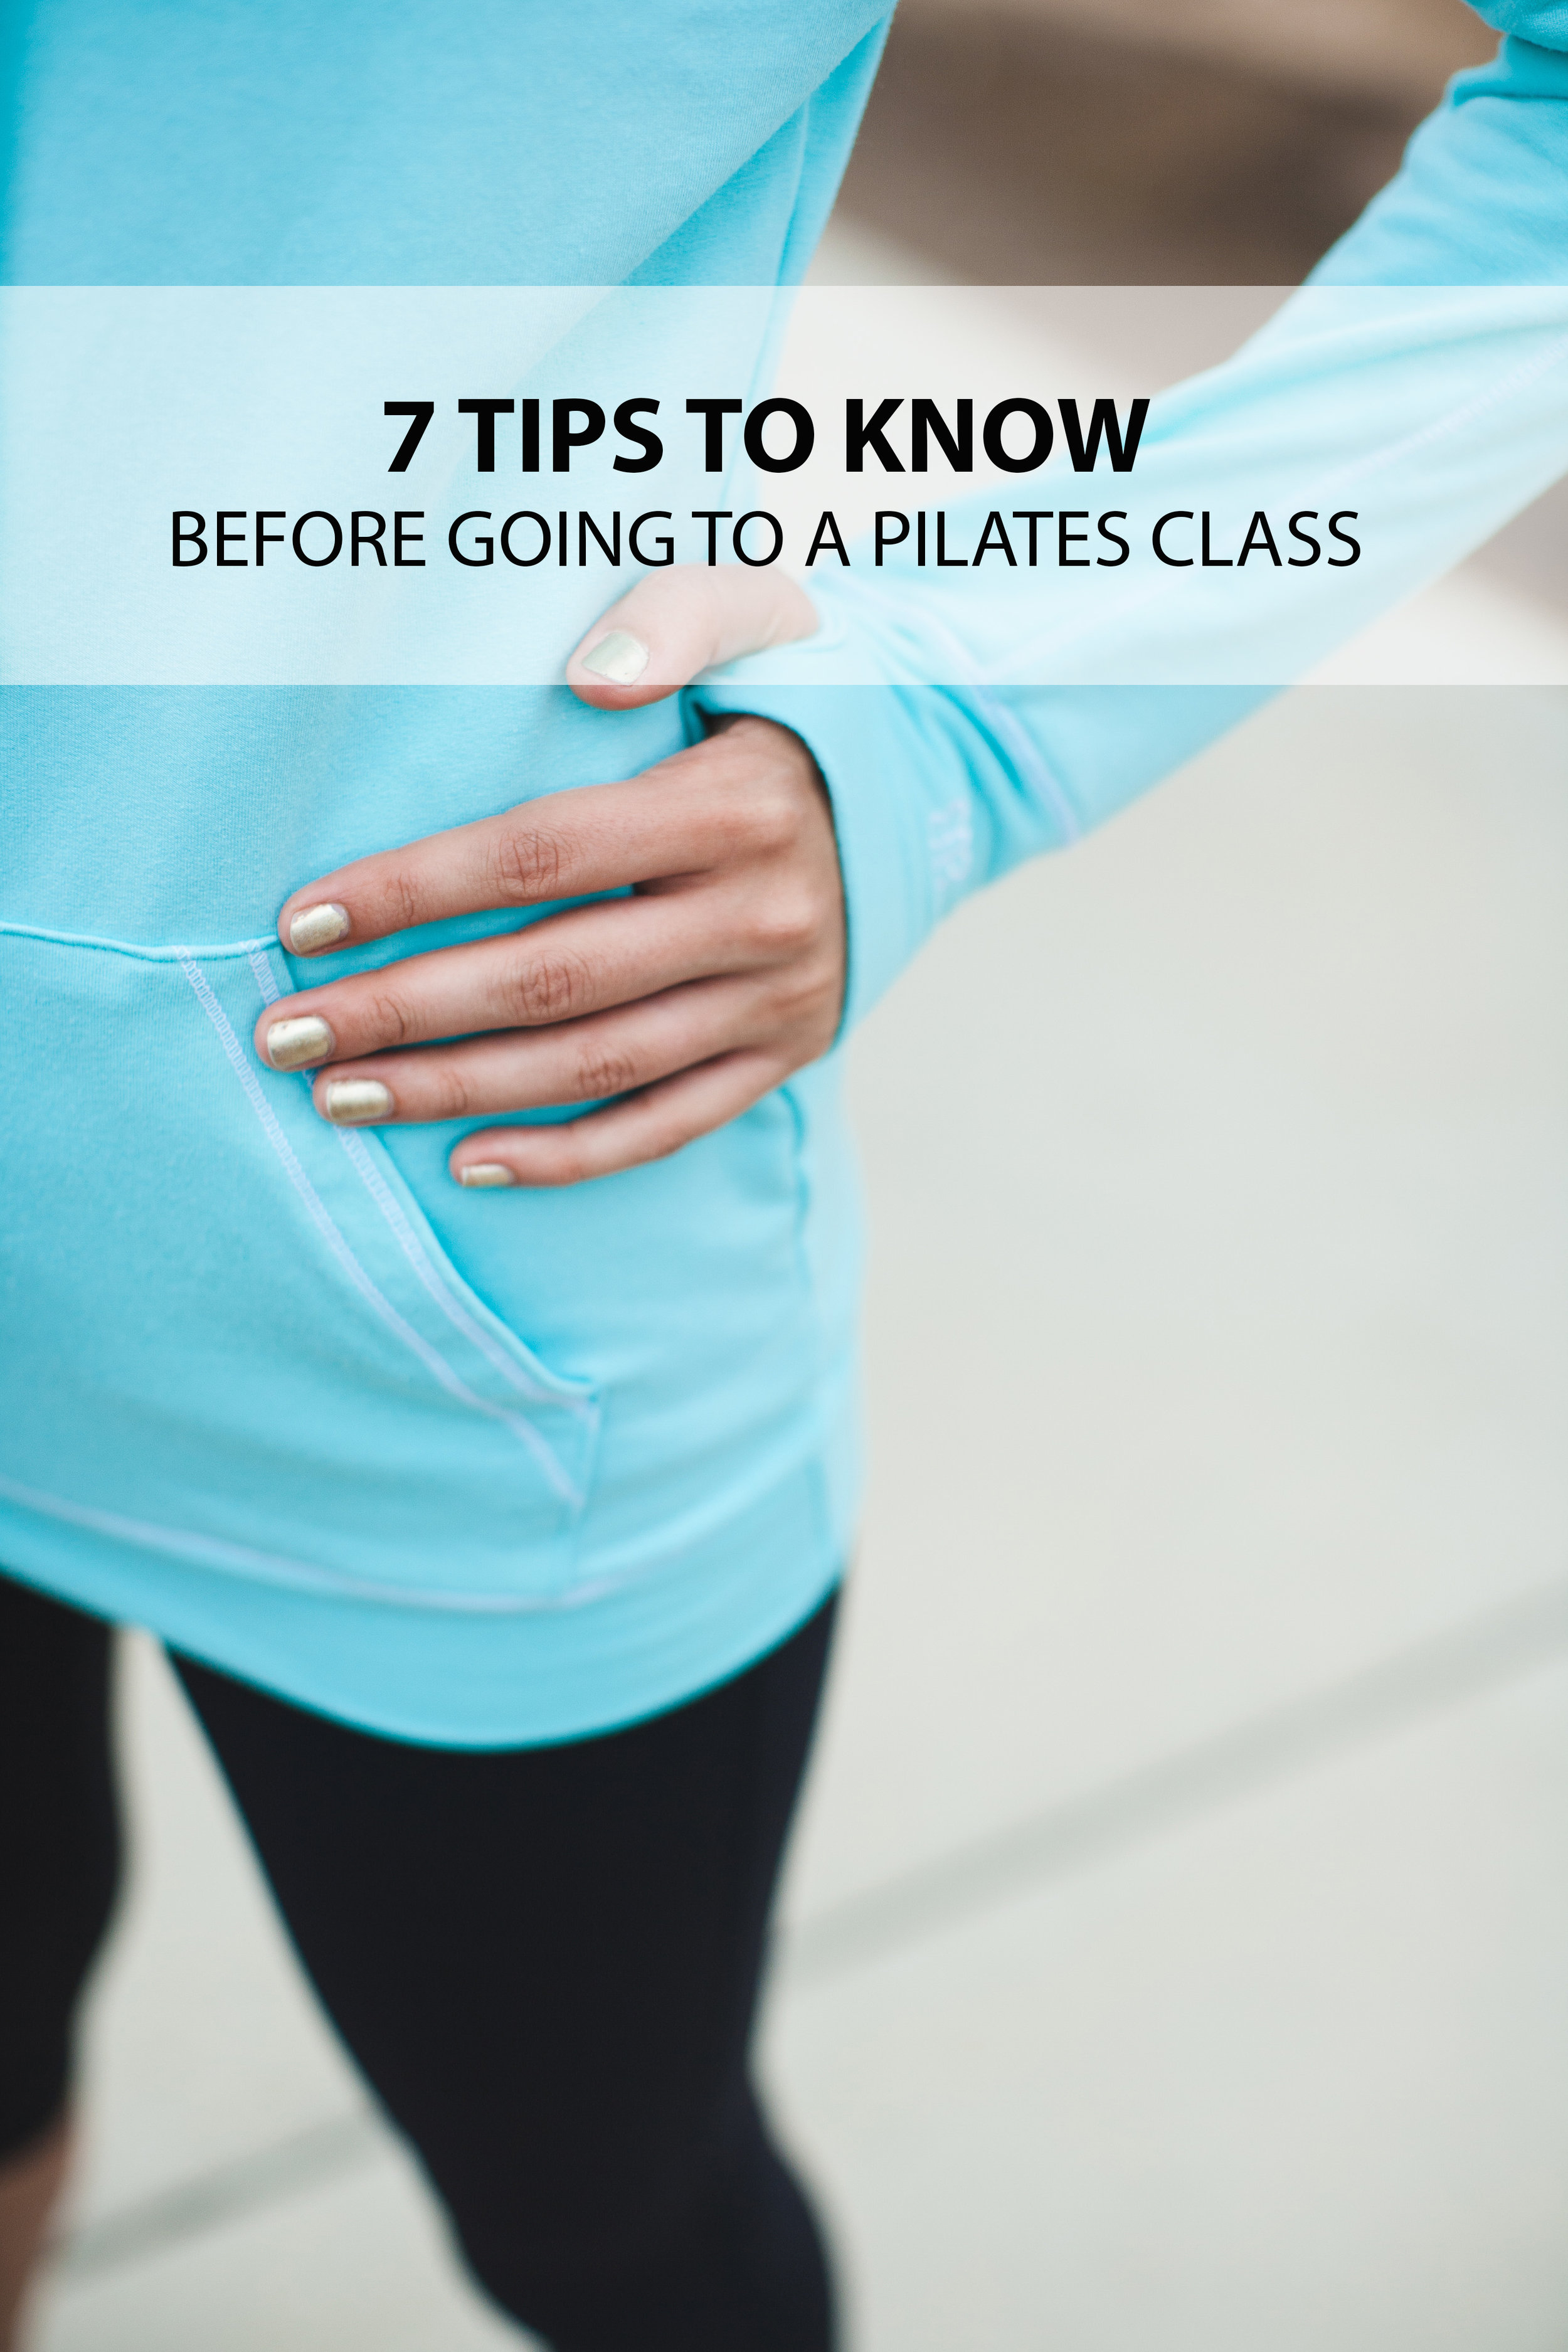
3. Wear leggings. You are bending all different directions. To ensure modesty, I highly recommend leggings.
4. Go to class about 10 minutes early in the first couple weeks to see if there are any new moves they can demonstrate for you. That way you can transition to different exercises easily.
5. Sign up for all of your classes for the month ahead of time. This will keep you accountable. You can use the Mind Body App or go on their site.
6. Go in the morning. It's nice to get the hard stuff out the way first and have the rest of your day to relax.
7. Don't schedule back to back classes the first two weeks. It's going to take your body a bit to recover and get used to pilates. After a month I'm able to do back to back classes with no problem, but the soreness was more intense the first couple of weeks. I usually workout Monday, Wednesday and Friday. 

I hope you have a great first experience, and if you are living Chandler, Arizona come on out to CoreBody Pilates with me!

Photography by Amy Hanen

BEFORE & AFTER: TOY STORAGE

This post is sponsored by PureBond. 

Our open floor plan posed a decorating challenge for me. There is an awkward, transitional space connected to our family room and our kitchen. I really didn't know how to furnish the area, and shortly after we moved in it became the toy dumping ground (see below). What I love about the space is that I can see the kids playing from every angle of our first floor, but I hated all of the toys everywhere. The room always looked messy and cluttered. So, I had the idea of creating a storage bench that would serve as both a toy box and extra seating. This would have to be a custom project, and PureBond and Pneumatic Addict were excited to help bring this idea to fruition. 

After searching through Pinterest to figure out what I wanted my bench to look like and what type of materials I would need, I reached out to Elisha from Pneumatic Addict. She is a fellow blogger with serious DIY skills. She designs and shares her plans on her blog as well as the process of how to create each DIY. When I reached out to her about this idea she told me PureBond plywood was exactly what we needed for this. Sure enough she was right. 

They sell high quality plywood in a gorgeous maple color that is sourced and manufactured in the United States. It also has a UV protectant to avoid discoloration over time, and is formaldehyde-free ensuring a safe product for my kids. A lot of times you'll see unfinished edges on plywood, but they also have a iron-on banding that matches the color perfectly to create a finished, rich look. Once we measured the area, we ordered what we needed and PureBond delivered it straight to Elisha's doorstep. You can get PureBond from your local Home Depot. 

Elisha built the frame at home and then brought it over and installed it. It took about a day of work to put it all together. One of my favorite parts of Elisha's design is how she thought to install struts on each lid so that the lids wouldn't come crashing down on Elle or Levi's fingers. When you try to pull the lid down it slowly closes no matter how much force you put on it. (Get the full design details and DIY process on Elisha's blog). 

Once it was installed, I knew I needed to put some textiles on top of the bench to make it more cozy. I'm also not a fan of the traditional banister, so pillows help disguise it a bit. I chose blues to tie in the blue in the kitchen, earth tones to tie in the family room and blush pink to tie in the dining room (all spaces you can see from this area). 

Since the kids play in this space I wanted to have a table for them to color on or play with their cars. It also serves as a great entertaining spot with comfy chairs and poufs. Adding an area really defined the spot too, and now it's obvious that this room is great for sitting and playing.

Now, I'm sure you are wondering how the kids get to their toys with all of those pillows on it. Well, the pillows are often on the floor, but because it's all very cohesive it doesn't bother me. It just feels like a cozy spot no matter if things are in disarray or in order. 

I'm so pleased with how this project turned out. Be sure to head over to Elisha's blog for the DIY details and use PureBond for your next project. Stay tuned for more updates on our family room space in the coming months.

Photos by Rennai Hoefer.

Real Talk Real Moms Morning Routine

Are you a morning or night person? Well, being a parent of small children you better be willing to be both, but especially a morning person. The second that sun comes up my kids are up, and so starts our morning routine. It has taken us four years to figure out what works for us with many arguments about who got more sleep or more time to get ready along the way, but now we have a system that works SOOOOO well (although Ryan's new job may throw a wrench in it, but that's besides the point), so I thought I would share it with as part of the Real Talk Real Mom Series.

1. Plan to both get up at the same time. This is a huge tip because getting up at the same time will eliminate any resentment as to who got more sleep than whom. Ryan and I wake up at the same time - 6:30am. I work out at 5am three times a week, so those mornings I'm up alone and I get less sleep. However, regardless of the day, both parents must be awake by 6:30 no matter what. 

Now, I know what you're thinking, "But, what if your kids get up before then?" Well, Levi and Elle both are awake by 6am, but we let Levi play in his bed and Elle waits for us to get her up. Just be consistent with the timing and they will get the hang of it.

2. Don't plan to tackle the kids at the same time. Take turns! One parent gets ready while the other makes the oatmeal, pours the cereal, changes the diapers and gets the kids dressed. Then we switch after 45 minutes. I will also say that this getting ready time is PRECIOUS for the parent upstairs. It's ALONE time. The kids are not allowed upstairs while Ryan or I are getting ready. This ensures that we can have a moment to center ourselves, go to the bathroom in peace and listen to NPR. You know, the important stuff. Haha! (The next day we switch who gets ready first and who does breakfast first).

3. Check in half way through the morning with each other. There is a changing of the guards at 7:15 so that the other parent can get dressed. By this time the kids have eaten and are dressed, so that means it's the other person's turn to tackle chores like packing lunches, emptying the dishwasher, taking out the trash bins, making sure everyone goes potty, teeth are brushed and diapers are changed. Before we switch though we always check in and tell one another any chores that didn't happen or any chores that did happen beyond our usual tasks.

4. Try to both take part in the send off. By 8:10 we are out the door. We both help carrying everyone out the door, buckle the kids in and give kisses. I love this part because it reunites us before we all go about our days. I wish we could lay around in our jams, drink coffee, eat breakfast together, etc., but not every day is a weekend. So, doing a joint send off gives me a touch of family fuzzies daily. Most mornings Ryan does drop off and I do pick-up. And, when everyone leaves, I take the next 20 minutes to drink my coffee, read, pray and breathe. By 8:30 I sit down to tackle work. Doing this everyone morning centers me and brings me peace. 

Everyone does their morning routine differently. Be sure to read the other timelines and advice from the moms participating in the Real Mom Series. The Effortless Chic, The Life Styled, Oh Lovely Day, Design Addict Mom, The Fresh Exchange, A Daily Something, Hey Mama Co, Freutcake, Parker Etc., Sacramento Street

Traditional Medallions & Modern Lighting

This post is sponsored by The Home Depot.

There is a new trend in home design that has caught my attention - ceiling medallions. In the past, ceiling medallions have been paired with ornate, traditional chandeliers to create a luxurious focal point in a room. However, the new trend is mixing modern and contemporary designs with traditional design, and this also applies to lighting. I'm anxious to try this trend out for myself because we are in need of a ceiling light in our family room. I love the idea of dressing up a simple, modern pendant. So, with the help of The Home Depot, I have been able to find a ton of great lights as well as medallions to achieve the look I'm dreaming of.

Did you know that The Home Depot has a ton of beautiful decor online? I had know idea they had such a large variety of styles. After sorting through all of their choices, I've listed my favorite lighting combinations below. Please weigh in and tell me which one is your favorite.

1/ Polished Chrome Glass Pendant with Bonetti Ceiling Medallion 2/ Oil Rubbed pendant and French Twist Medallion 3/ Brass Globe Pendant and Orion Medallion 4/ Chrome chandelier and Viceroy ceiling medallion

I had no idea there were so many styles of medallions to choose from. In my opinion, the more ornate the medallion the more simple the light should be. But because I will need a lot of light in our family room I'm learning toward a modern chandelier, so I like the thought a medallion that is a bit more simple like the Leandros medallion below. Option number 5 is my first choice with number 7 in a close second.

5/ 5 light brass chandelier and Leandros Medallion 6/ Silver Foyer Pendant and Berkshire Medallion 7/ Brass 6 light lantern with Attica Ceiling Medallion

Tell me which combination is your favorite and if you would attempt this trend in your home. Also, stay tuned for future posts featuring decor from HomeDepot.com, and be sure to check them out for your next home project..

This post contains affiliate links. 

Sleeping In Luxury

I love sleep. As a mom of littles, sleep is what I crave more than anything, and if there is something that can increase my quality of sleep my dollars won't hesitate. This should not be a surprise to anyone that has seen all that we have put into our bedroom. Haha! 

When I get ready for bed I take my time as if I'm getting ready for a date, but it's a date with the sandman. I slather on yummy smelling face creams and spray aromatherapy to ensure sweet dreams. And as far as sleepwear goes, well, up until now I just wore a t-shirt and comfy shorts, but Natori has changed all of that for me. I had no idea silk satin could feel so luxurious. 

I have a fondness for luxury goods just like anyone, but when it comes down to putting my dollars where my eyes are I'm pretty reluctant unless I'm going to get a lot of use out of it. I never considered luxury sleepwear to be one of those things, but after experiencing Natori I get why people love it so much. Slipping on these jams is like slipping on a second skin and waking up in an evening gown. Do I dare even call these pajamas? 

If you're a fan of cotton they have you covered there too. They carry the softest, prettiest cotton sets. When people talk about wanting to wear sweatpants all day they just don't know what they are missing out on because Natori is truly what you want to wear all day long. 

Check out other styles here, and tell me what your favorite is. 

Photos by Rennai Hoefer; This post contains affiliate links. Product was given for this post.