HP Sprout Review & Recipe Card DIY
/This post is sponsored by HP.
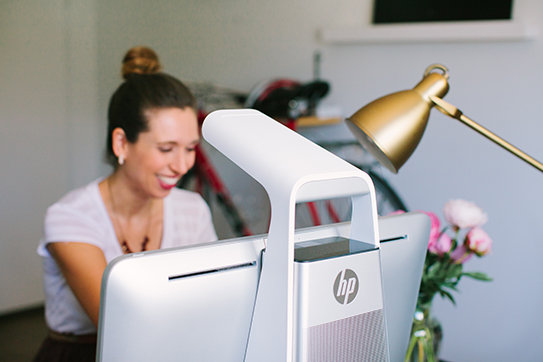
As a content creator and influencer I'm always working with images, and as I mentioned in a previous post, working on a laptop isn't always the easiest. Sometimes it really is helpful to see things on a large screen, and with the Sprout by HP I not only have a large screen, but I have an easy way to capture and edit photos and objects. It's a creative's dream computer.
With their touchable screen and mat, I can create inspiration with a click of a button. Simply lay your objects on their mat, click scan, and voila! You can see them on your computer. You can easily add text to your photo too.
Check out this cute little screensaver background I made in UNDER two minutes. Yes, it's that fast and easy!
It comes with a wireless keyboard which is so nice, but I actually didn't really need to use the keyboard much at all. You can quickly eliminate clutter and maximize space by using their touch screen or the keyboard on the mat. It's nice to have the option though if you're writing a lot (like I am right now).
The Sprout also comes preloaded with fun artwork and games for children. My two year old loves drawing and playing with the Sprout, and it's MESS free!!!
There are endless ideas of how you can use the Sprout for work, but I thought it would be fun to show you an easy DIY for anyone looking for a new home PC.
RECIPE CARD DIY:
1| Pick your favorite recipe to share. I chose banana bread.
2| Choose ingredients from your recipe as art work. I chose bananas, of course, but you could use coffee beans, sliced carrots, or even sprinkles of sugar or pepper.
3| Lay your objects on the outer sides of the mat so you have enough room to write, and click "take picture."
4| Save the photo and remove the objects from the pad.
5| Add your recipe title and save the photo.
6| Print a 3x5 or a 4x6 photo onto regular paper and write in your recipe (It looks more personal that way).
It's that easy! Want to know more about Sprout by HP? Visit their website, www.sprout.com.
Photos by Gina Meola


