Christmas Decor with Hayneedle

This post is sponsored by Hayneedle

006.JPG

New beginnings call for a lot of new things even down to Christmas decor. All of the decor I own has been a part of Christmases shared with Ryan. In fact, a lot of the ornaments are ones I bought the first year I was married to celebrate our first Christmas together. Being separated this Christmas, it is quite painful to bring those memories back to life, so I looked to Hayneedle to help make new memories this Christmas with beautiful and simple decorations that will establish a foundation to build memories upon.

007.JPG

A beautiful, new pre-lit tree was just what I needed. It doesn’t have any ornaments on it this year, but it will grow to have more and more as the kids and I make new ones together. I look forward to popsicle sticks, pine cones and cotton balls decking out the tree over the years.

009.JPG

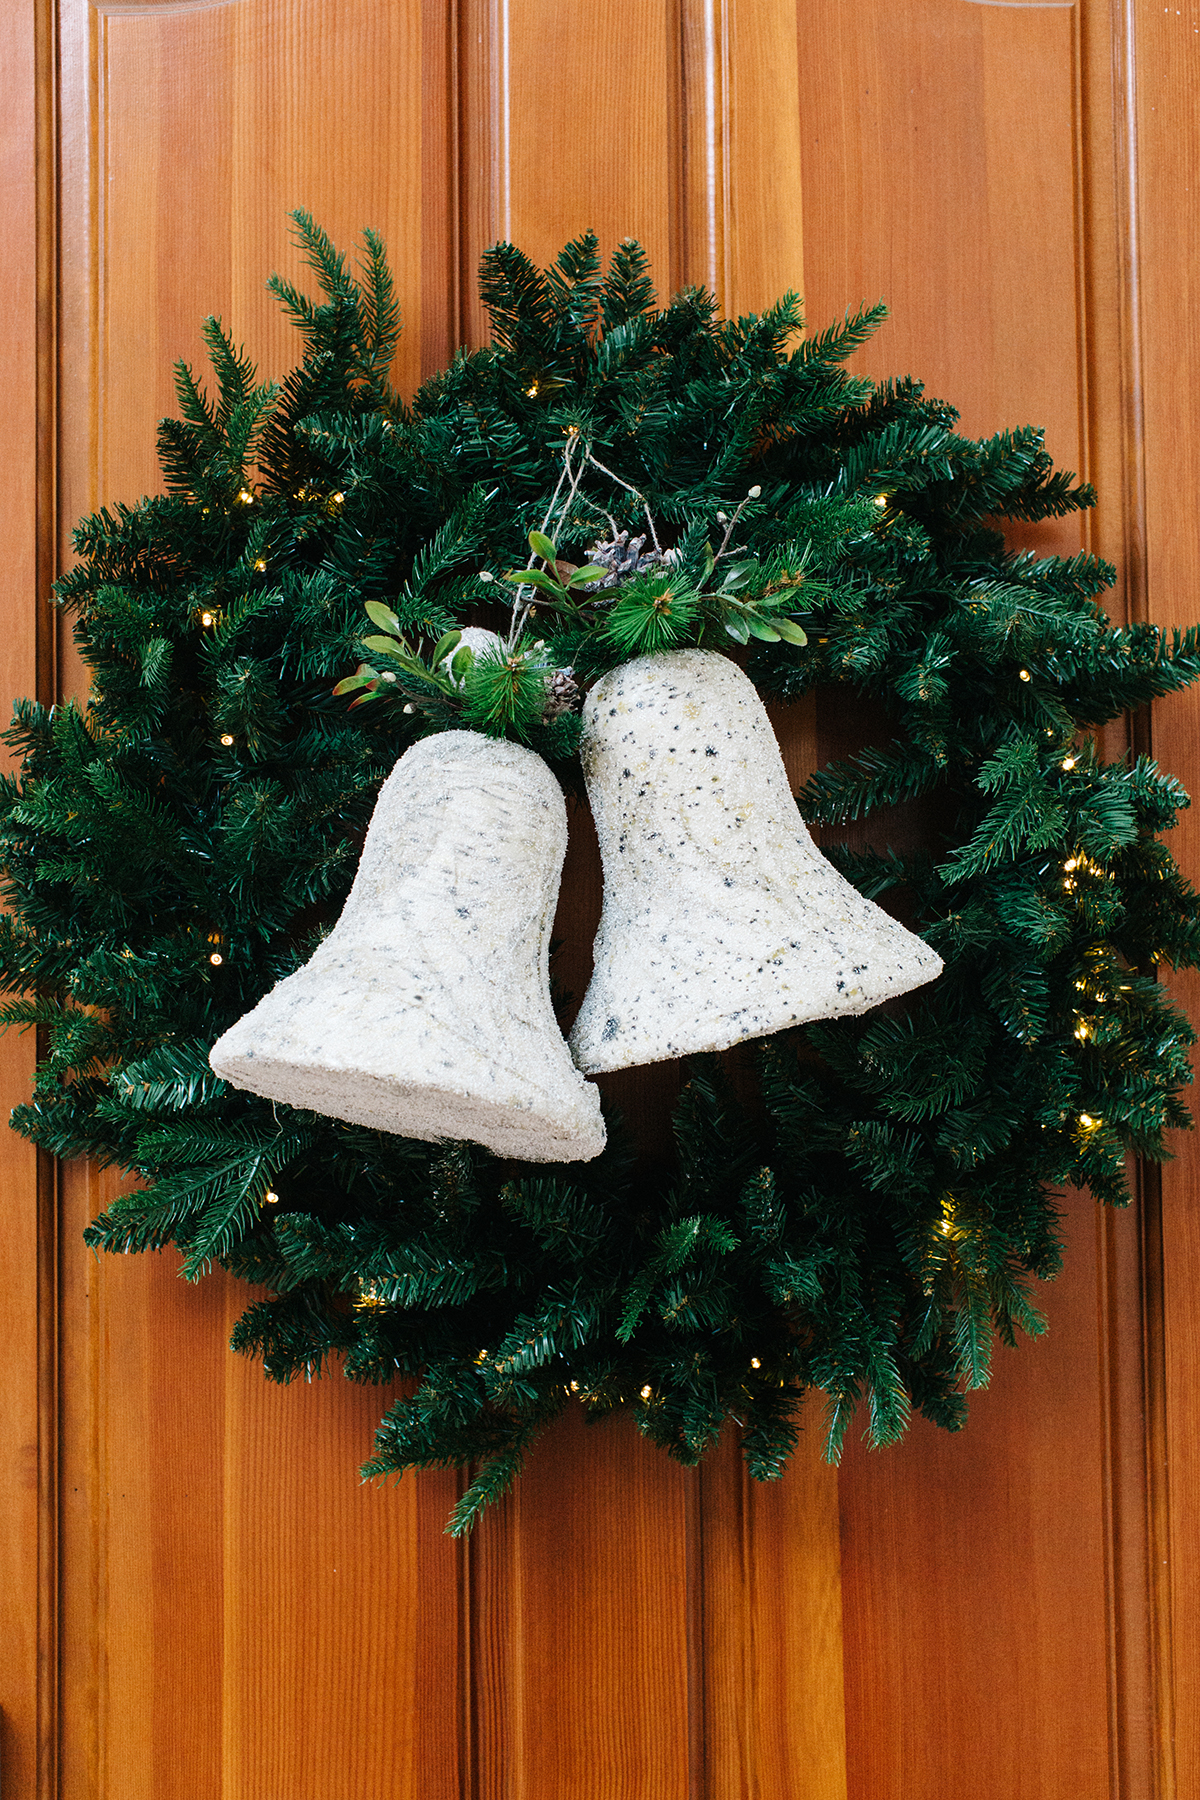
I placed the tree in the window for decoration because I’m not sure it’s wise of of me to attempt hanging lights on the outside of the house by myself. Haha! But I got a new wreath for the door that has battery operated lights and comes with a timer. I also found a beautiful garland to lay across my antique china cabinet. Between the tree, the wreath and the garland things should be looking pretty festive.

012.JPG

I’m a big believer that candle light is just as festive has Christmas lights. So I found beautiful brass and wooden candle holders to put throughout the space. I can’t wait to light them all on Christmas Eve. I also found beautiful brass trays and glass domes that would set a holiday scene with pine cones and fake snow, but I love that these are items that can stay on my table over the the months and not feel out of place. Christmas decorations can be really expensive, so you may as well find things that can stay out longer than six weeks.

016.JPG
019.JPG

If you’re looking for beautiful and affordable Christmas decor Hayneedle has such a great selection. Everything comes right to your door too. No need to worry if your tree will fit in your trunk. Here’s to the holidays and new memories! 

028web.jpg

Photos by Rennai Hoefer; product was given as part of payment for this project. 

DIY Hanging Ladder

001.JPG

A couple months ago, I finished my first bathroom renovation, but the finishing touches had yet to be put on. In fact, I still don't have a toilet paper holder. Haha! But one of the latest additions to the bathroom is this rope ladder that is serving as my towel rack solution. It's all thanks to Janet Crowther, DIY mastermind, who brought my vision to life, and she also has given you FREE step-by-step instructions. 

I met Janet through Pinterest, actually. We were both part of the first and only group Pinterest Ambassadors. I had just given birth to Levi, and I had traveled all of the way to San Francisco when he was just four weeks old. It was one of those trips I didn't want to miss, so off to Pinterest we went. Janet was so kind and sweet, and after meeting her I discovered her eye for trends and design is AMAZING. She is a stylist to the core, and has a way of explaining how to do things in simple ways. Her DIYs feel approachable and achievable. No Pinterest fails with this girl! 

In fact, you can get her beautiful book, A Well-Crafted Home, to get all of her amazing DIYs. It's a fabulous gift for the holidays, and it makes a great coffee table book too. 

005.JPG

But back to the the ladder...Man, it was the perfect addition to the space. It doesn't take a up a lot of room, and it holds more than a typical towel rack. It also makes the space feel taller because it is hung from the ceiling to the floor.  Check out the tools and materials you need to make your own, and follow the step-by-step instructions below to make one for your home. 

TOOLS & MATERIALS:
(2) 1” x 48” wood round dowel
Measuring Tape
Pencil
Rotary saw or hand saw
Scrap piece of flat wood
Power drill
13/32“ drill bit
6/64” drill bit
Sandpaper
20 ft of ⅜” solid braid rope
Duck tape (best to use black if using black rope)
Scissors
(8) 6D 2” finishing nails
Hammer
Nail set (optional)
Natural pine wood putty (optional)

IMG_6829.JPG
002.JPG

INSTRUCTIONS:

  1. Measure, mark and cut each dowel into 3 even sections (approx 16” lengths).

  2. Measure 1” in from both ends of each dowel and mark with a pencil. Holding the wood firmly,  at the 1” mark drill a 13/32” hole through the diameter of the dowel, on both ends. Make sure to drill straight up and down and that both holes are aligned. Repeat and drill through all 6 dowels. You will have 2 extra 16” dowel lengths in case one is off or for practice drilling.

  3. Load the drill with the 6/64” bit and drill into the end of each dowel perpendicular to the ⅜” holes. Going straight through the length of the dowel and right at the center of ⅜” hole. Drill both ends of all 6 dowels.

  4. Sand the ends of the dowels smooth as well as the holes. Wrap a small piece of sandpaper around your pencil to sand inside the 13/32” hole. Make it as smooth as possible so the rope doesn’t snag when threading through.

  5. Tape both ends of rope tightly with duck tape. Find the center of the rope and tape around. Cut the center of the tape creating two 10 ft lengths of rope. Fold one end of rope over onto itself at 12” and form an overhand loop knot. Pull tightly so it stays in place. Repeat on one side to the other length of rope. Make sure the loops are even in size and adjust if needed.

  6. From the bottom of one overhand loop knot measure 21” down and place a ½” piece of duck tape very tightly around. Measure 14” down from the duct tape and wrap another piece around. Repeat 2 more times measuring 14” down from each piece of tape. You should have 4 pieces of tape total. Hold the unwrapped piece of rope next to the tapped one and copy the placement, make sure the knots at the top stay even and tape placement is exactly the same on both.

  7. Lay the 2 pieces of rope on the floor about a foot apart, knots to one side. Take one dowel and slide the taped ends of rope (opposite of the knot)s through the 13/32” holes. Slide it all the way up to the top pieces of tape, the tape should be inside each dowel, hidden by the holes. Repeat with 3 more dowels bringing them up to the remaining tape stations.

  8. Make sure that all the dowels are level and even across the rope. Adjust as you go and check after each nail is placed because once you nail them in you will not be able to adjust! Starting with the top dowel, hammer one finish nail into the small drill hole on each side of the dowel. There will be a bit of resistance when you reach the rope so make sure to hammer straight and forcefully so the nail doesn’t come out where it’s not supposed to. Hammer all 8 nails into the dowels.

  9. This step is optional. If you would like a seamless look on the side, use the nail set and hammer to push the nail further into the dowel and beneath the woods surface. Then fill the small hole in with wood putty. Once the putty is dry use sandpaper to buff off any excess putty from the surface.

  10. Knot both ends of rope right under the bottom dowel. Cut the rope 2.5” from the bottom of the knots. Using your fingers separate the strands of rope and fluff them to create a tassel.

  11. To make the top knot tassels cut the short end of rope 2.5” from the bottom of the knots. Using your fingers separate the strands of rope and fluff them to create a tassel. Trim any longer strands to make even ends.

  12. Hang the ladder from the ceiling using large ceiling hooks.

007.JPG

Lamps Plus Sweepstakes

alexevjen-1.jpg

This post is sponsored by Lamps Plus. 

Lamps Plus is my go to destination for lighting. It's where I found my dream light for my bedroom, and It's also a place I go to when I'm looking for cool home accents. I've partnered with them to share some of my favorite things from their store under $75, and to host a sweepstakes where one lucky winner AND a friend will win an item of their choice from my picks. Christmas has come early folks! Make sure to visit my Instagram account or Facebook page to find out the details. And check out my decor selects below to see them in the context of my home.:

IMG-9573.JPG

This yellow pillow is just the pop of color I have been looking for. I love the disheveled appearance of it. 

IMG-9596.JPG

This mid-century looking walnut light is a favorite of mine. It looks so expensive, and yet it's very affordable. 

IMG-9595.JPG

I love to be surrounded by plants, but I don't have time to manage them all. I like to mix in some faux plants here and there, and these palm leaves are just the ticket. 

IMG-9574.JPG

One of my favorite mid-century pieces is a starburst clock. I've been wanting one for awhile now, and I finally have one thanks to Lamps Plus. 

Uniquely shaped bowls and vessels are things I love collecting. I fell in love with this black and gold oval dish, and I have already filled it with pumpkins. 

I hope you enjoyed my picks. Good luck on winning!

Green Velvet

010.JPG

This post is sponsored by Article.

Do you have the velvet bug? I obviously do. Last year, it was a blue sofa. Last month, it was red velvet shoes. And this month, it's green velvet chairs from Article. They are my new obsession. I love sitting here early in the morning or late at night. The fabric is so soft to the touch. It feels like a big hug to me right now.

006.JPG

And it's not just color or texture that has me head over heels in love, it's the lines. The design of these chairs is so beautiful and the quality is top notch. Article is a company that I have been familiar with for quite some time. In fact, I have been eyeing their brown leather sofa for over a year. 

005.JPG

A couple months ago I thought I was putting the finishing touches on the house, but with the change in circumstances with my family, some furniture has had to go. So, it truly is a gift to have such special chairs be a part of new beginnings for me.

002.JPG

If you're looking for quality, modern furniture I highly encourage you to check out the chairs, sofas and tables that Article makes. They are exceptional. 

Photos by Rennai Hoefer

Styling Bookshelves

digitaldecor_avestyles20.JPG

This post is sponsored by Home Depot.

Bookcases aren’t just bookcases anymore. Long gone are the days where you simply line up your books and throw in a couple picture frames for good measure. No, bookcases have been elevated to Instagrammable status with their own coined hashtag: #shelfie. At the same time, they do provide a lot of storage. They have almost become a necessary evil.

digitaldecor_avestyles14.JPG

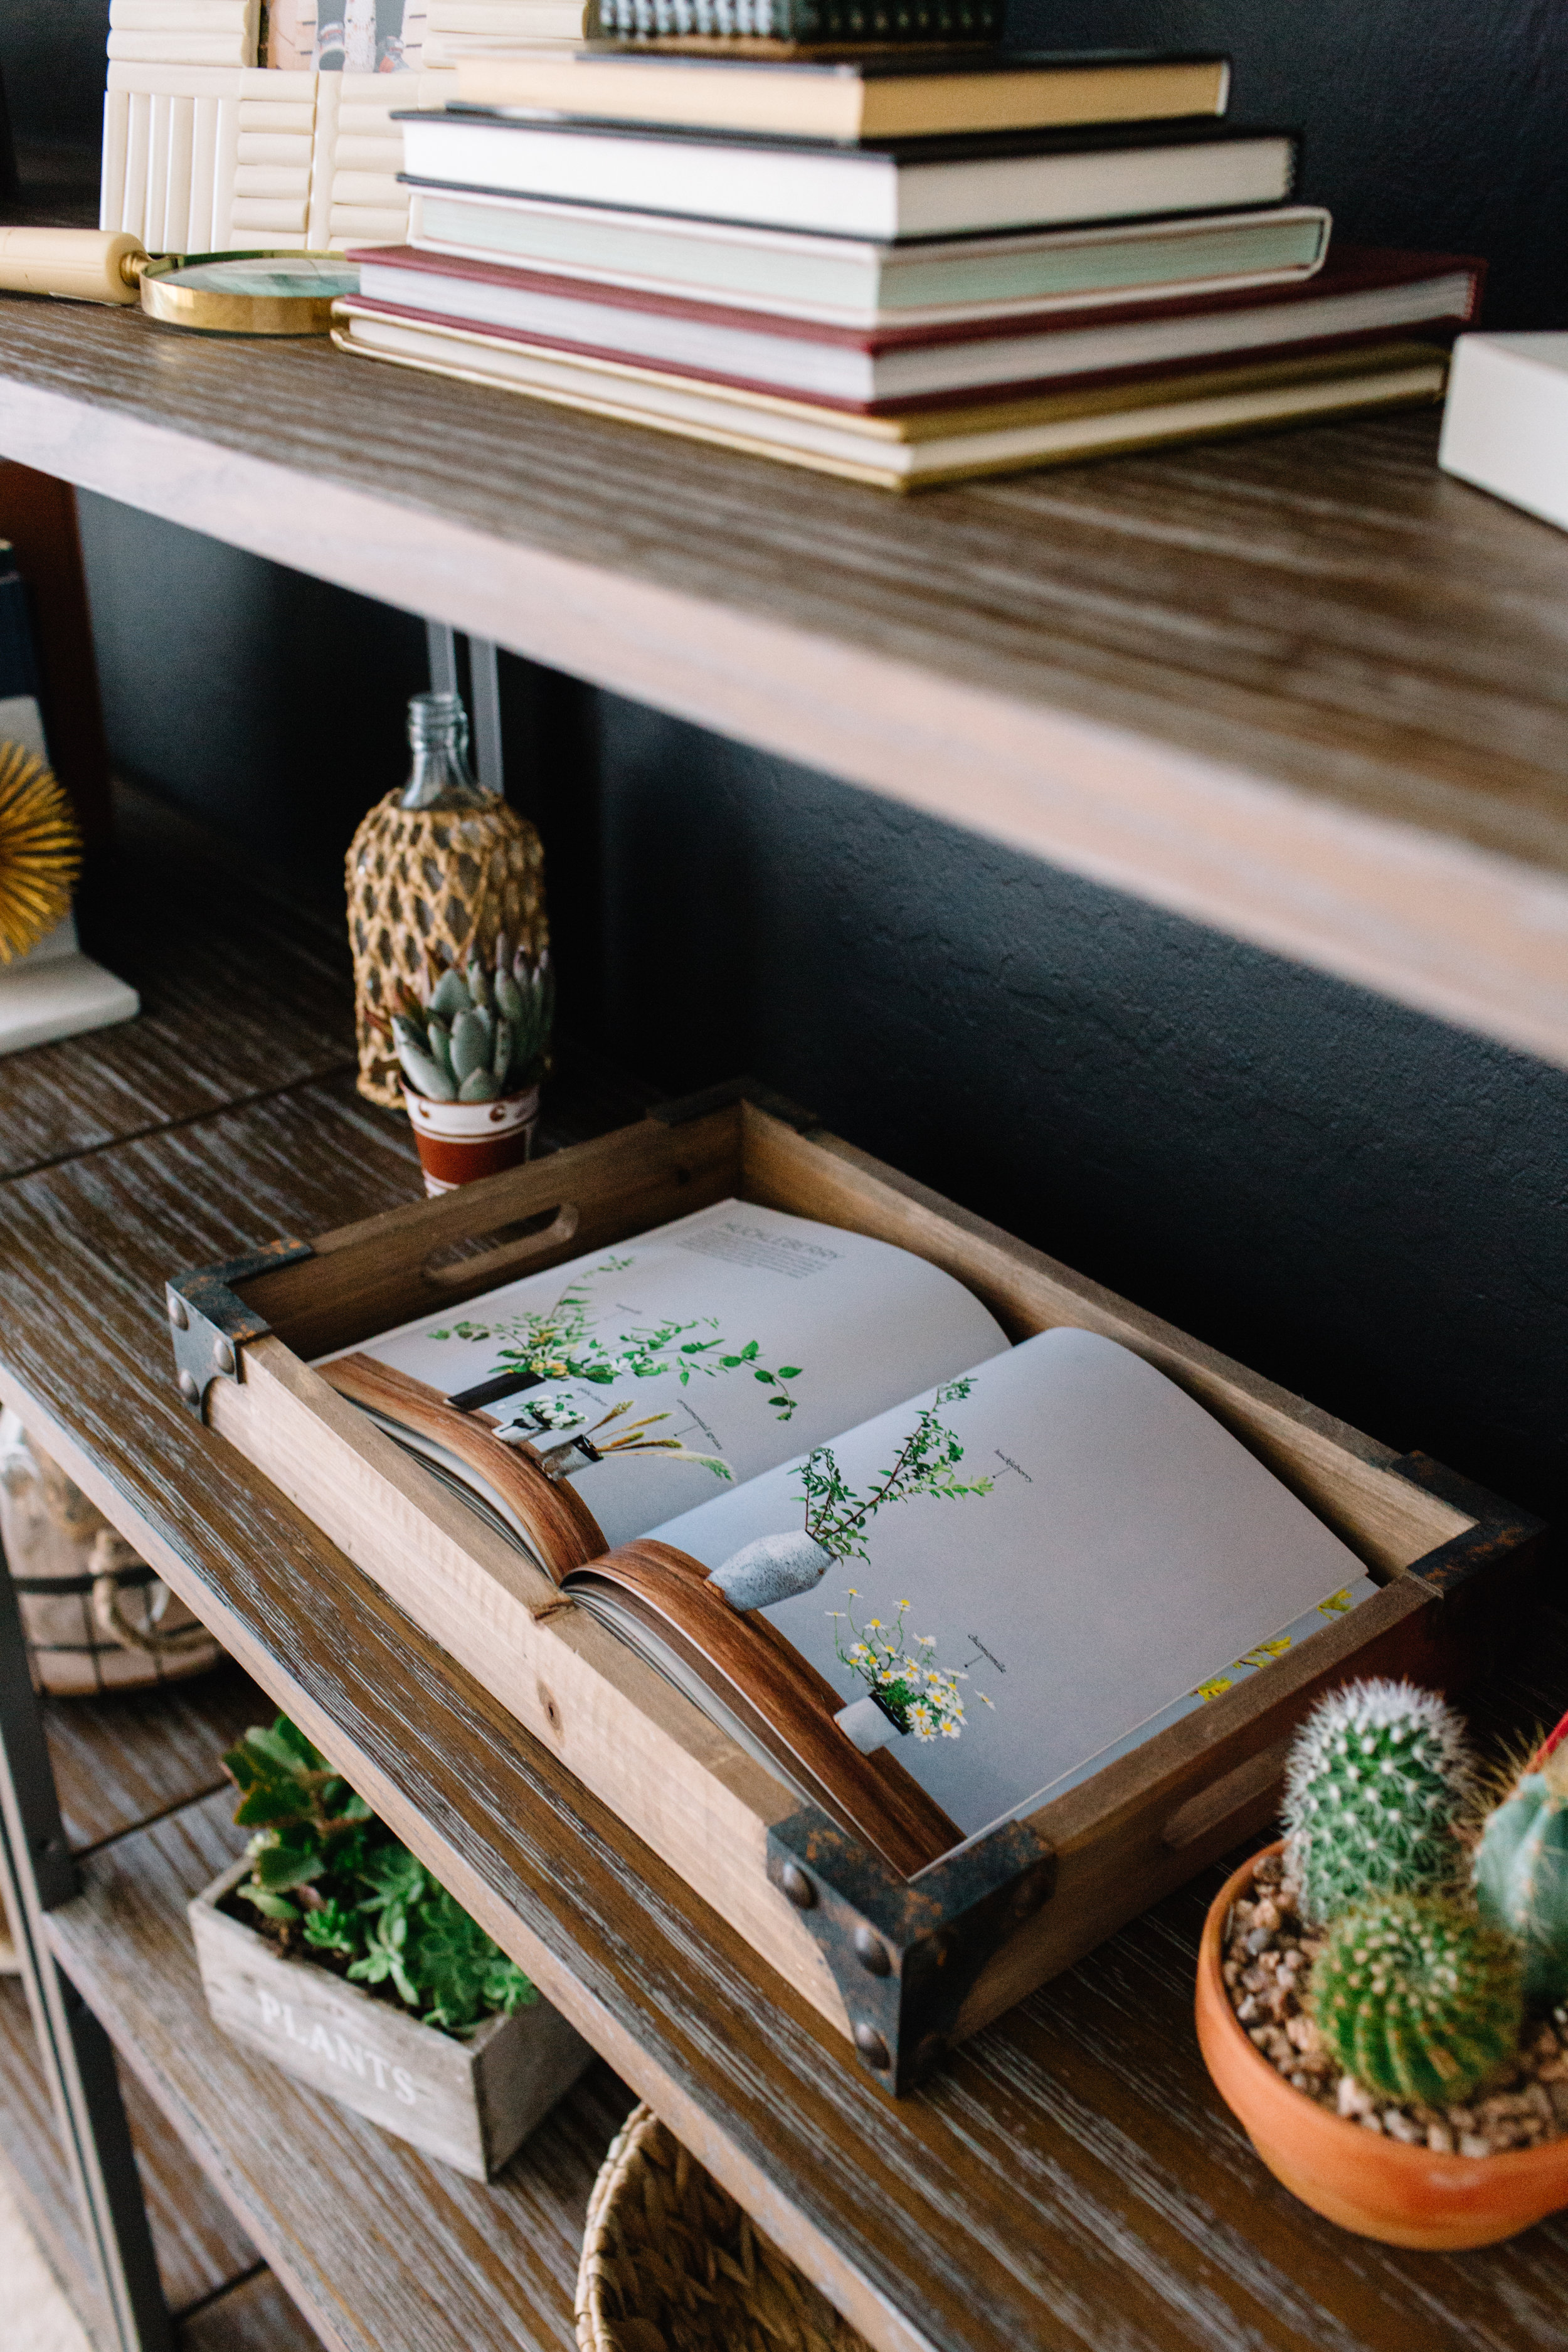
I have quite a lot of books and home accessories that are special to me, and I have been looking for a modern bookshelf to display them on. I found the perfect shelves on HomeDepot.com. They were quickly shipped to my house and easily assembled. I originally was going to put them in my family room, but since Elle’s old room was turned into a guest room I saw an opportunity to finish the space with these shelves.

digitaldecor_avestyles09.JPG

It turned out beautifully! You can check out Home Depot’s blog to see the full post about how I styled it, and below for a list of items.

Products:
Shelves
Hand bookends
Gold agate stands
Woven basket set
Wire baskets
Bone Rod Picture Frame
Bone picture frame
Gold metal and marble bookends
Storage basket
Woven throw
Wood planter

Photos by Rennai Hoefer.